

Spring Cleaning For Your Indoor And Outdoor Potted Plants
As a gardener, it's crucial to ensure your plants are ready for the upcoming spring season. Adequate preparation will help your indoor and outdoor potted plants make the most of this growing season to thrive and flourish. Here are some essential maintenance tips to get your plants off to a great start:

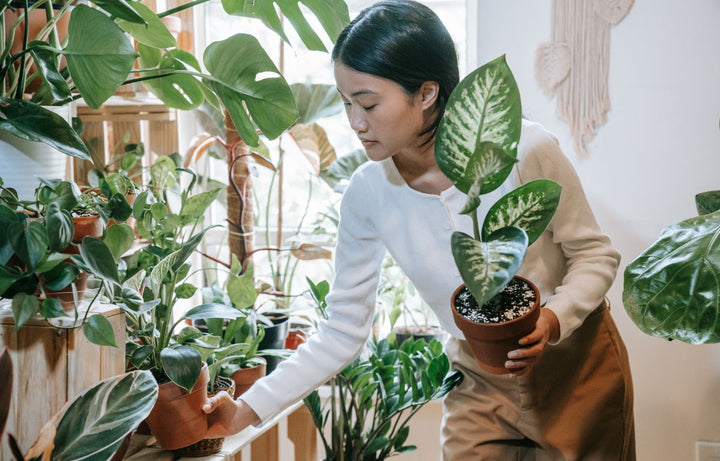
1. Clean and Inspect Your Pots
Before spring arrives, take the time to clean and inspect your pots.
- Remove any debris or dead leaves from the surface of the soil and around the stems of the plant.
- Regularly cleaning the exterior of your pot and the space under and around it will prevent the growth of harmful bacteria and fungi especially prevalent during the warmer seasons, ensuring a healthy environment for your plant.
- Thoroughly inspect moss, bark, straw or other materials used to cover the topsoil of your plant either for aesthetic appeal or water retention. If mould or bacteria has formed in or around this material it is best to replace it entirely to avoid further contamination. Treat your plant for bacteria and fungal growth if needed.
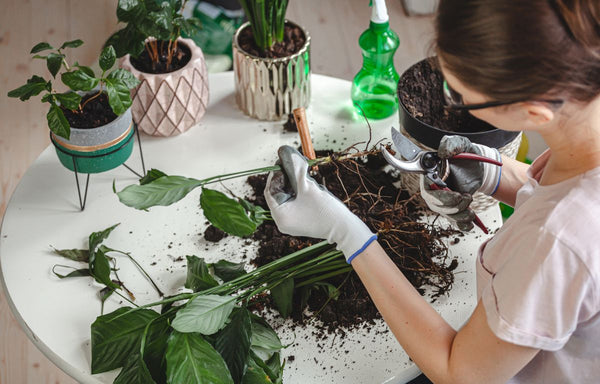
2. Check for Cracks In Your Pots and Repot If Needed
Cracks in your pot may be an indication that your plant is pot-bound and needs repotting.
- Pot-bound means your plant's roots are so compacted that they are pushing against each other and the pot in an attempt to find more space to grow.
- You can easily check to see if your plant is pot-bound by poking your finger or a gardening tool into the soil from the top of the pot downwards towards the bottom.
- If you can easily poke as far down as your finger or gardening tool can reach, your plant should be fine for the time being. However, if the roots feel densely packed and you are having trouble pushing through without damaging them, it is time to repot your plant.
- Please read our blog for a step-by-step guide on how to pot up your plant.
- Repotting may not always be suitable due to limited space, your budget doesn't allow for a larger pot, or you just love the existing pot and don't want to move the plant.
- Carefully trimming your plant's roots will slow down growth and keep your plant happy and healthy without having to up-size the pot.
- Read our blog Maintaining Your Plant For That Indoor Lifestyle for more information about how to trim the roots of your plant safely.
3. Prune and Trim Foliage
Trimming and pruning your plants is essential for their overall health and appearance.
- Remove any dead or damaged branches, as well as any overgrown or tangled foliage. This will encourage new growth and healthier structural development.
- Keeping your plants tidy prevents mould and pests from feeding on dead and damaging stem sap preventing the spread of diseases and infection.
- Pruning is also a good way of redirecting your plants to areas that have more sunlight and even out irregular-looking foliage.
- Don't discard any healthy stems that have been pruned away, spring is the best time to propagate new plants. Read our blog Propagating Monster: Tips and Tricks For Success.
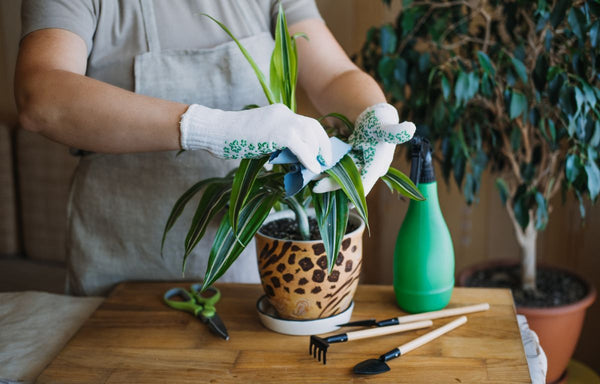
- Take the time to gently wipe each leaf of your plants with a lukewarm damp cloth to remove any dust and grime that has accumulated. This will open up the pores allowing a faster rate of photosynthesis and plant growth.
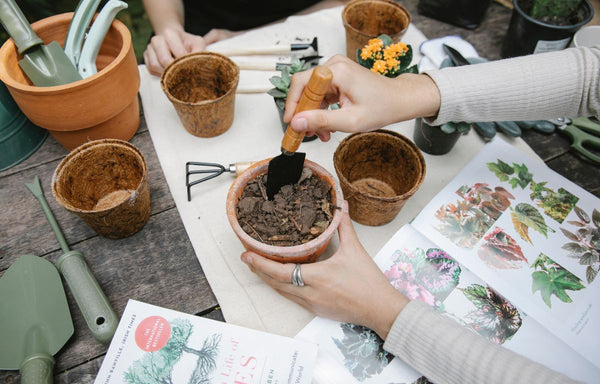
4. Check the Soil
Assess the quality of the soil in your pot by touch or with a gardening tool.
- If the soil is compacted or depleted, consider repotting your plants with fresh, nutrient-rich soil.
- Check that the moisture consistency is suitable for your plant's needs and is not overly wet or dry.
- If either is the case, you should check the condition of your plant's roots to ensure they have not rotted or desiccated. Although your plant may appear healthy, it is often too late to rectify long-term under or overwatering once signs do become apparent.
- Dry soil is often easy to remedy. Flush the soil with water making sure the roots are completely soaked, allowing the excess water to freely drain away.
- Wet soil is trickier. If the soil is wet but not waterlogged, try adding dry soil underneath the topsoil to soak up excess water. However, if the soil is waterlogged you will need to repot your plant using entirely new soil.
- Read our handy guide for Signs You're Overwatering Your Plant.
- Bacteria and mould spores can easily develop in waterlogged soil not only infecting the plant but potentially spreading to other healthy plants in your collection.
5. Watering Routine
Adjust your watering routine as the weather warms up.
- As spring and early summer are the ideal growing seasons for most plants, they expend more energy and absorb a higher volume of water during this period.
- Increase the frequency of watering, but be mindful not to overwater. Check the moisture level of the soil regularly and water when it feels dry to the touch. Remember, different plants have different water requirements, so research the specific needs of your plants.
- The most common signs that your plant needs more water are dry soil, and drooping or faded-looking leaves.
- Succulent plants like the Jade plant and Agave are able to store water in their roots and stems so don't require as much moisture in the soil to survive warm temperatures. However, plants like the Peace Lily and Monstera Deliciosa become incredibly thirsty and soak up water from the soil at a much more rapid pace, and can quickly become dehydrated if not watered regularly enough.
6. Fertilise
Spring is the perfect time to give your plants a nutrient boost.
- Fertiliser is an easy way to re-introduce depleted nutrients back into the soil feeding your plant, and promoting healthy and prosperous growth.
- Fertiliser comes in two forms, concentrated liquid fertiliser or slow-release pellets. Concentrated liquid fertiliser is fast-acting and must be diluted with water before it can be given to your plant, and can easily be added to your watering routine. Pellets on the other hand are slow-releasing and only need to be replenished every two to six months or so. Sprinkle the pellets over your plant's topsoil and then turn the soil over to hide them from view.
- Follow the instructions on the packaging to ensure you provide the right amount of nutrients without overfeeding. Some plants will require more or less feeding than others, so tailor your fertilising schedule to each plant's needs.
- Read our blog Unlocking The Secretes of Plant Nutrition.
7. Protect from Pests
As the weather warms up, spring also brings an increase in pest activity.
- Inspect your plants regularly for signs of pests such as aphids, mealybugs, or spider mites that eat the stems and leaves of plants for sustenance.
- Use organic pest control like neem oil or even home remedy solutions such as rubbing alcohol. Consult a professional if necessary to keep your plants pest-free.
- Remember, it is important to eradicate all of the pests including the eggs. Many insects and pests have a waxy outer coating that can protect them from less effective repellents, and spray-distributed insecticides can sometimes miss important spots allowing the more savvy pests to repopulate and reinfect.
- The best way of removing unwanted pests and their eggs, dead or alive, is by gently wiping down the leaves and stems of your plant with a lukewarm damp cloth. Especially taking note of the undersides of the leaves and around the nodes along the stems. Insects lay eggs in these areas to protect them from water and insect-eating predators.
- Use a cotton swab in the hard-to-reach places.
- If you do have an infestation, check the soil to make sure they are not hiding underneath the topsoil. You may need to repot your plant if this is the case.
8. Consider Sunlight Exposure
As the days get longer and the sun gets stronger, assess the sunlight exposure of your plants.
- Many indoor and outdoor potted plants prefer diffused, dappled or indirect sunlight during the day. Although direct sunshine is usually not harmful to most plants during Autumn and Winter, it is now important to provide them with ample shade moving into the warmer months of the year.
- Direct sunshine, especially in Australia's late spring and summer months is extremely dry and hot. Focused sun rays can dry out and even cause sunburn spots on your plant's foliage.
- It is important to adjust your plants placement to avoid over-exposure. Move sun-sensitive and tropical native plants like Fern plants, Palm trees and Aglaonemas to the east to southeasterly-facing areas of the garden, or strategically place them against larger sun-tolerant plants and permanent structures of the home that will provide shade cover from the hot afternoon and early evening sun.
- If your plants are indoors, move them away from northwesterly-facing windows or diffuse the sunlight with translucent curtains.
9. Gradual Acclimatisation
If you've kept your plants indoors during winter, gradually acclimate them to outdoor conditions.
- Winter temperatures and weather conditions can be unfavourable for many potted plants so moving them indoors is a good way of keeping them safe and sheltered from frost and stormy weather.
- The start of spring is a great time to slowly re-introduce your plants back into the outdoors.
- Start by placing your plants in a shaded area for a few hours a day, gradually increasing their exposure to sunlight. This process will prevent shock and help them adjust to the outdoor environment.
- There are also many benefits to temporarily moving your indoor plants outdoors during the mid-spring and early summer seasons. The temperature is more moderate, allowing natural air circulation, and more sunlight exposure for smaller foliage that is usually overshadowed.
10. Monitor Temperature Changes
Spring weather can be unpredictable, with sudden temperature fluctuations early to late in the season.
- Keep an eye on the weather forecast and protect your plants from frost or extreme heat.
- Throughput early spring, keep cold-sensitive plants like succulents indoors until nighttime temperatures become warmer, or move them outdoors later in the day.
- Plants that hate fluctuating temperatures like the Fiddle Leaf Fig and Boston Ferns are better kept indoors until the weather and temperature become more stable and consistent.
- If you are unable to move your plants indoors, provide temporary coverings like sheets or tarpaulins for insulation and prevent frost from settling directly onto the plants. Gently place and lift off the coverings from your plant and do not drag it across the foliage as it can damage the leaves.
- If your indoor plants are in pots without drainage holes, make sure to keep them under full cover and out of the rain.
- Humidity is difficult to moderate and rectify outdoors so if the air feels too dry, cluster your plants closer together. Plants naturally produce water vapour through their leaves and in quantities, increase humidity in the surrounding air.
Throughout the spring season, continue to monitor your plants regularly. Look for any signs of nutrient deficiencies, disease, or stress. Promptly address any issues to ensure the health and vitality of your indoor and outdoor potted plants during their growing season. By following these maintenance tips, you'll be well-prepared to welcome the spring season and enjoy the beauty of your thriving plants. Happy gardening!